
Overview
Nobody likes spam. Every day, you waste time looking through spam emails trying to find your important emails.
While most web hosting services, including ours, include basic virus scanning and spam filtering, a third-party spam filter can make a huge difference with the amount of spam you receive.
Here is a guide on what Email Defense mail filtering is and how you can purchase it and use it with your domain web hosting.
What is Email Defense?
Email Defense is an email filtering service the scans your incoming email for spam. The service looks for potential and know spam characteristics and quarantines any potential threats.
And not just spam. Email Defense will also look for malware, viruses and phishing attacks. Email Defense is constantly checking for spam and updating its filters to block potential threats before they can do any harm.
Another great benefit of Email Defense, is that if, for whatever reason, your mail server is unreachable, it will queue your mail until it can be delivered. You can access this queued mail from the Email Defense interface.
How does Email Defense protect my mailbox?
While the service is quite complex on the back end, essentially what email defense does is redirect your mail to their filtering servers, where it checks your emails for known treats and potential spam or phishing. It will also look out for potential unknown threats. Any mail that looks suspicious is put in quarantine for you to review later. Mail that is known to be dangerous is rejected and any safe mail is then forwarded to your mail server.
How do I get Email Defense?
You can purchase Email Defense directly from your client area.
If you don’t know how to access your client area, you can find out here.
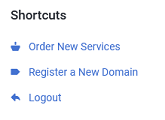
Once logged in, click on Order New Services in the Shortcuts menu on the left hand side of the screen. This will take you to the Products page
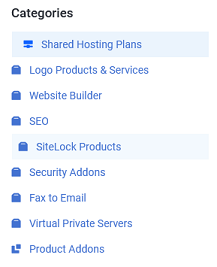
Once at the products page, select Product Addons from the menu. You should now see all of the addons available for your shared hosting accounts.
If you have a VPS and would still like to purchase Email Defense, please submit a ticket and we will create the order.
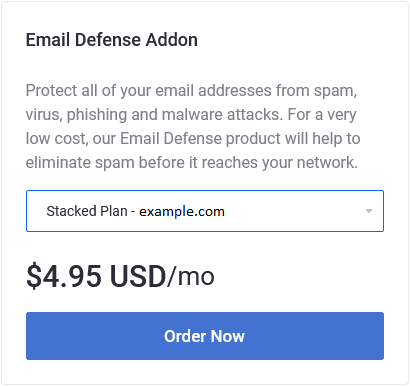
If you have more then one hosting plan, you can chose which plan you would like to add the Email Defense to. Once you have made your selection, click Order Now to begin the check out process.
Once the order is completed, the install process will start. There are a few DNS updates that need to be done to your zone file, but if you are using our name servers, we can update them for you. Otherwise, we will provide you with the new records.
You will not need to update your mail clients. Everything on your end will continue to function as normal. Only with less spam. And phishing emails. And malware.
How do I manage my Email Defense service?
Once your purchase your Email Defense service, you should receive an email with your credentials to access your Email Defense dashboard. You can log into your dashboard at https://login.antispamcloud.com/.
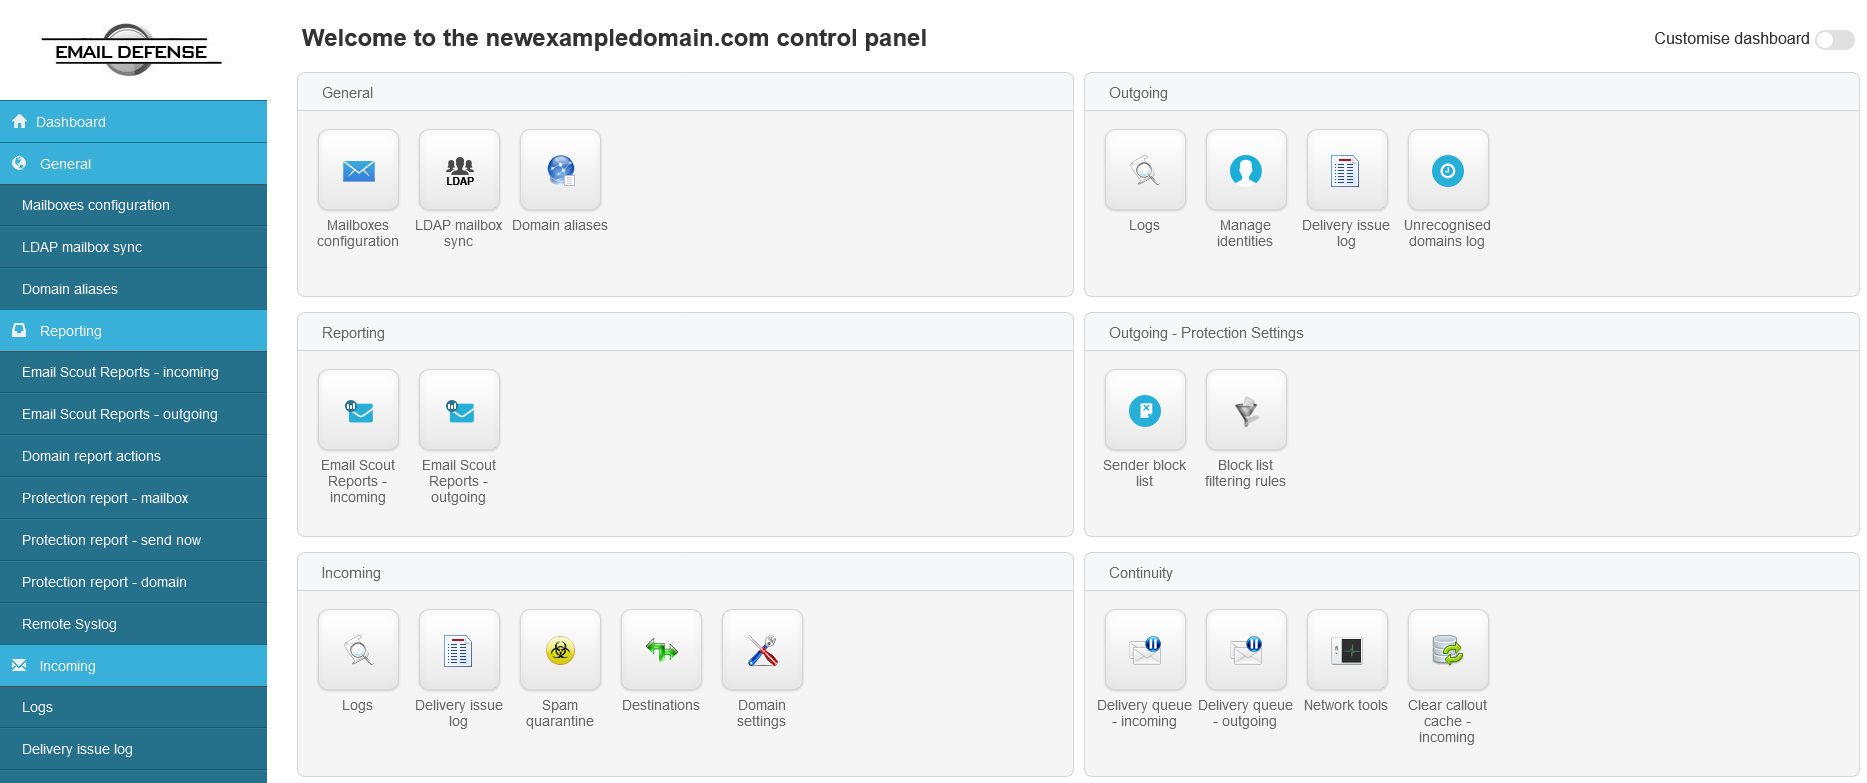
Once logged in, you will be looking at your Email Defense dashboard.
While there are several options in this dashboard, we are mainly concerned with two section:
- Incoming
- Users & Permissions
Incoming
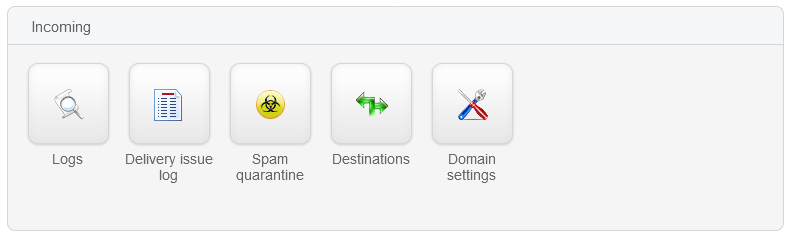
Here is most important section of your Email Defense dashboard. This is where you can monitor the email filter, check logs and manage your quarantine. We will discuss the quarantine below.
- Logs
- This is where you can search through your incoming email logs
- Delivery issue log
- This is where you can view the logs of any mail that the filter tried to forward to your mail server and failed.
- Spam Quarantine
- This is the main part of your email filter services. Please click here for information on the quarantine.
- Destinations
- Here you can set the domain name of your mail server. This is where the filter will forward safe emails to
- This should be set to emaildefense.[your domain]
- Domain settings
- Here is where you update your notification email, timezone and other options.
Users & Permissions
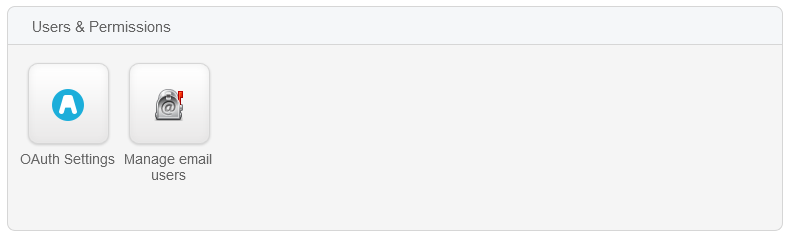
Here is where you will set up accounts for individual users.
Clicking on the Manage email users app will allow you to set up a management account for each email user so they can monitor their spam filter. We will go deeper into this here.
How do I manage my spam quarantine?
The main part of your Email Defense dashboard is the spam quarantine. This is where the filter places mails that it flags as potential spam. You can use the quarantine to help train the filter by releasing good mail from quarantine and sending it to your mail server, or by removing it and flagging the sender.
As mentioned here, you first need to log into your email defense dashboard and click on the Spam quarantine app.
Once you open the app, you will see a list of all the mail the filter has flagged and quarantined.

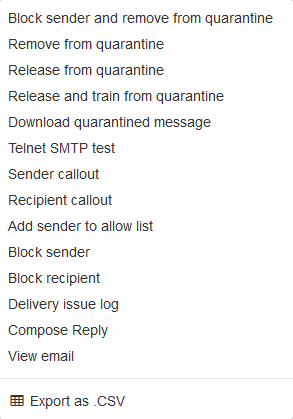
Clicking on the drop down menu for each email will show the options menu. From here, you can choose what to do with the email. You can choose to block the sender permanently or add them to your allow list.
You can also delete the email from your quarantine (Remove from quarantine) or push it to your mail server (Release from quarantine).
You can also manage several messages at once by using the check box to the left of each email and then using the bulk actions at the bottom.
It is a good habit to check this quarantine from time to time (once a week, perhaps). The more that you interact with the quarantine, the better it will get at sorting out your emails. It is also the first place you should check if you did not receive an email you were expecting.
How do I create accounts for my other mailbox users?
Unless you plan an managing all the mailboxes for your domain yourself, you are going to want to set up user accounts. This way, each mail user can manage their own mail filter.
In order to create a new user account, first you need to log into your domain account (see above). Once logged in, open the Manage email users app.
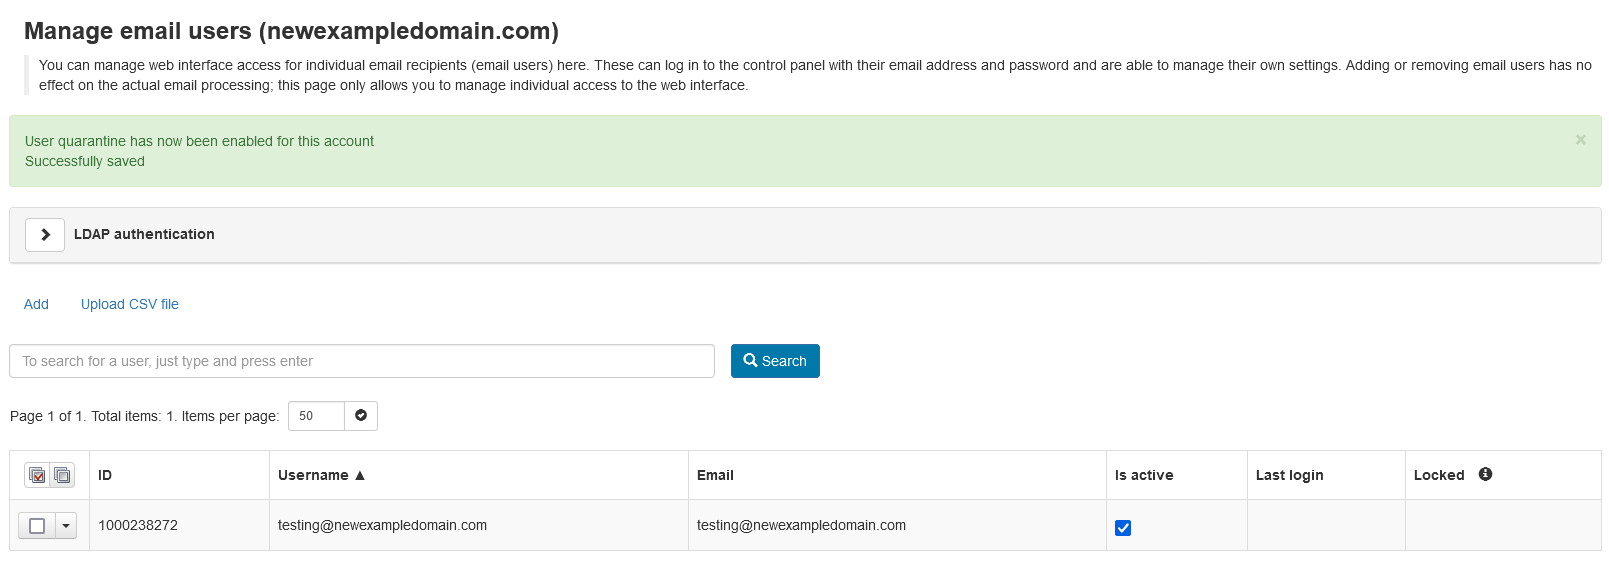
You can manage your user accounts from here, and you can add a new user by clicking Add in the upper left hand side. You can create and account for each of your email users so they can manage their own spam quarantines.
The credentials for the user account will be as follows:
Login URL: https://login.antispamcloud.com/
Username : the users email address
Password : the password you createdIf you have any further questions, please be sure to reach out to our support staff by using our chat service in your client area or by submitting a ticket.
2 replies on “Email Defense Mail Filtering”
[…] of the most effective and affordable solutions is Email Defense, found in your Client Area, which provides an advanced spam filter plus virus protection. It helps […]
[…] Unfortunately, a big part of using email is dealing with spam emails. And with more people using email for both work and personal reasons, the volume of spam has exploded. Fortunately, there are tools included with your cPanel to combat these time wasters. Here is a guide on the spam filter included with your cPanel hosting, Spam Assassin. We also offer an advanced spam filtering tool called Email Defense. […]