
Overview
In some cases, you will want to create your own nameservers. This will allow you to use your domain name for the nameservers instead of our default nameservers. While this is mostly symbolic, it does give your services a greater look of legitimacy. This guide will explain how to do this from your client area.
Accessing the Custom Nameservers
First you will need to log into your client area.
If you don’t know how to access your client area, you can find out here.
Once you are logged in to your client area, click on the Domains button.
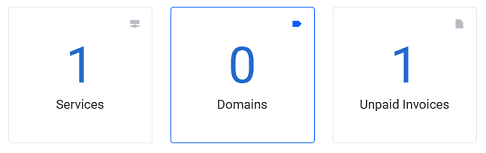
You should now be at the My Domains page.

Select the domain you wish to update by clicking on the row. You can click anywhere on the box, except the domain name (this will take you to the domain’s website).
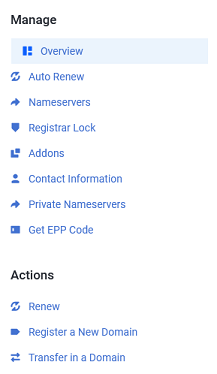
You now want to click on Private Nameservers in the Manage menu on the left hand side.
Managing Custom Nameservers
You should now be looking at the Register Nameservers page.
This page is broken into three sections:
Register a NameServer Name
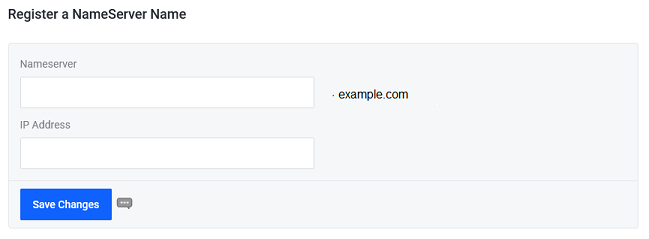
Use this section to create a new domain nameserver
- Nameserver – you only need to enter the first part of the nameserver (Ex. “ns1, ns2”), the system will add the rest (.domain.com)
- IP address – this is the IP address of the DNS server you are using
Click Save Changes once finished to update.
Modify a NameServer IP

Use this section to update an existing nameserver IP address
- Nameserver – you only need to enter the first part of the nameserver (Ex. “ns1”), the system will add the rest (.domain.com)
- Current IP Address – the existing IP address for the nameserver you are editing
- New IP Address – the new nameserver IP address
Click Save Changes once finished to update.
Delete a NameServer

Use this section to delete an existing private nameserver
- Nameserver – the nameserver you wish to delete. You must enter the entire nameserver (Ex. ns1.domain.com)
Click Save Changes once finished to update.
Finishing Touches
Once you have your private name servers set up with the registry, you will need to add the A records in your dns zone file. If you are using our cPanel based web hosting, you can find information on updating your records here.
If you are hosted with someone else, you will need to contact them and add the records in there system.
ns1.example.com   IN A [ip address]
ns2.example.com   IN A [ip address]
In the above example, we used ns1 and ns2 as the two new name server prefixes, as this is common practice, but you can use whatever you like.
The IP address will be provided by the host of the zone file. If you are using our cPanel hosting, the IP will be 207.55.253.5.
If you have any further questions, please be sure to reach out to our support staff by using our chat service in your client area or by submitting a ticket.