
Overview
One of the most important parts of your web hosting services is email hosting. This guide will help guide you through the interface that allows you to add and manage your domain’s email accounts.
Accessing the Email Manager
To manage your domain based email accounts, you will need to use the Email Accounts app that can be found in the Email category of your cPanel
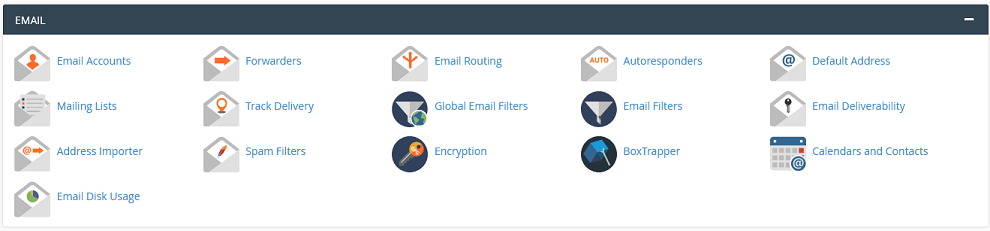
If you do not know how to access your cPanel, you can find out here.
Add an email address
Once you click on the Email Accounts app in cPanel, you should see the Email Accounts menu.
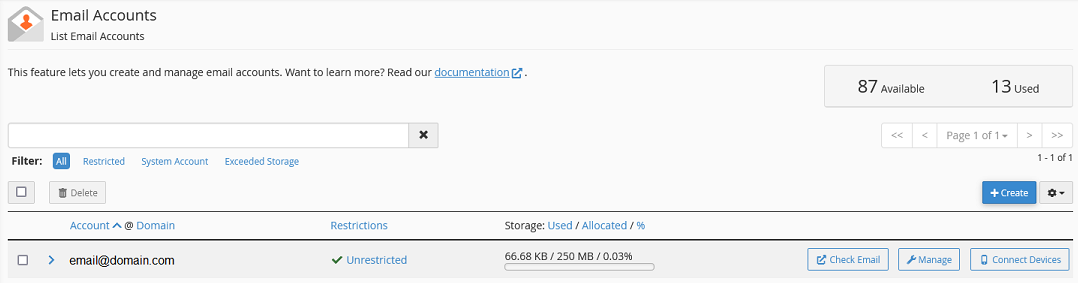
To add an account, you need to click on the +Create button located on the right hand side of your screen.
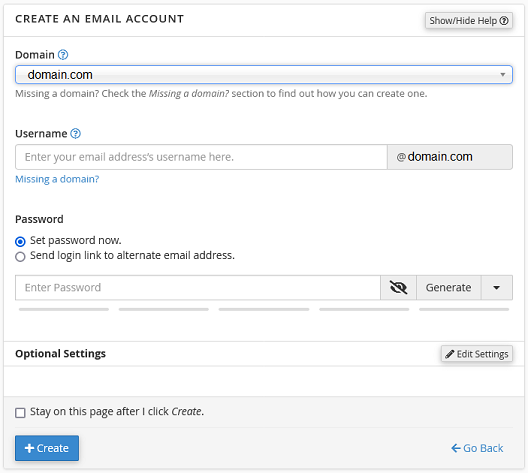
Once the Create an Email Account page has loaded, you will see several fields.
- Domain
- This is the domain that you want the account to use (this is the part after the ‘@’ symbol in the email address).
- Username
- This is the part before the ‘@’ symbol (you don’t need to type in the ‘@domain.com’ part of the email).
- Password
- Here is where you enter your preferred password for this account.
- Set password now – this will allow you to set the password for the account
- Send login link to alternate email address – this will instead send an email to the email address provided and let the end user choose the password.
- Regarding email passwords, please note:
- The system grades the password that you enter on a scale of 100 points. 0 indicates a weak password, while 100 indicates a very secure password.
- Some web hosts require a minimum password strength. The green password Strength meter indicates that the password is equal to or greater than the required password strength.
- For a secure, randomized password, Click Generate to generate a strong password. For more technical information on the password generator, read cPanel’s Password Generator documentation.
- Stay on this page after I click Create
- You would check this box if you were creating several accounts. Otherwise, leave it unchecked and you will return to the email list.
Click the Create button to finish creating the account
Optional Settings
You will also see an Edit Settings button next to Optional Settings. This will give you access to several additional management options.
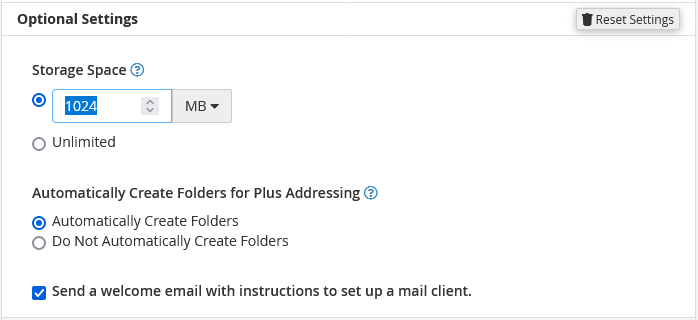
- Storage Space
- set the quota for this email address or set to unlimited.
- Note that even when set to unlimited, you are still limited by the disk space limit of your cPanel account
- Automatically Create Folders for Plus Addressing
- Send a welcome email with instructions to set up a mail client
- this will send an email to the account with the settings required to add the email address to a mail client (macMail, Outlook, Thunderbird)
Managing your email addresses
From the Email Accounts screen, you can see all the email accounts that are set up on your account.
This list includes any email accounts from add-on domains or subdomains. This list contains:
- Account – the mailbox name
- Restrictions – any restrictions on this mailbox (see Restrictions in the Manage section below)
- Storage – Used/Allocated/%
- Check Email – this will log you into the account Webmail
- Manage – reset account password and configure the account disk space and restrictions (see Manage section below)
- Security – enter a new password
- Storage – set the allocated storage space
- Restrictions – set account restrictions send/receive
- Plus Addressing – set whether plus addressing auto creates folders
- Delete Email Account – remove account and all mail contained within
- Connect Devices – this page contains auto setup scripts as well and the mail client settings used for manual setup
Manage Section
Clicking on the Manage button gives you access to several options that you can use to manage the mailbox functionality.
Security
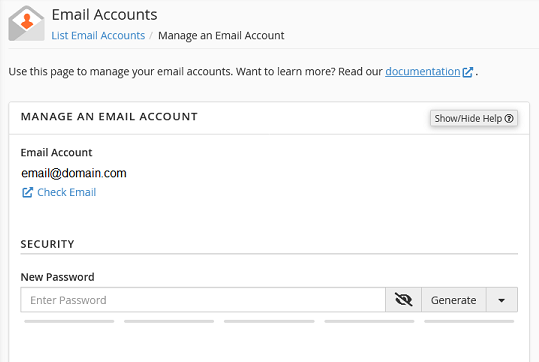
Here you can update your email address password. Be sure to use a secure password. A secure password is not a dictionary word, and it contains uppercase and lowercase letters, numbers, and symbols.
Enter the new password in the New Password text box
- Note that the system grades the password that you enter on a scale of 100 points. 0 indicates a weak password, while 100 indicates a very secure password.
- Some web hosts require a minimum password strength. A green password Strength meter indicates that the password is equal to or greater than the required password strength.
- For a secure, randomized password, Click Generate to generate a strong password. For more technical information on the password generator, read cPanel’s Password Generator documentation.
Click Update Email Settings to store the new password. If you do not wish to change the password, click Go back.
Storage
The quota for an address defines the amount of mail that the account can store. When your mailbox exceeds this limit, the system returns any incoming mail to the sender with a message which states the recipient’s mailbox is full. It is important to keep track of quota usage, because you cannot receive email with a full quota.
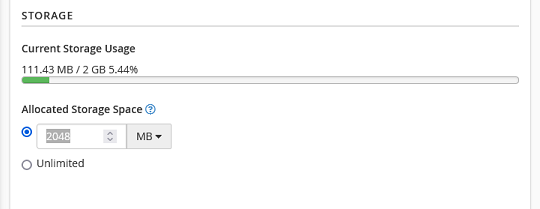
- In the Storage section, enter the new email quota in the appropriate text box. You can enter the amount as well as the unit (MB,GB) If you do not wish to set a limit for the account, click unlimited (you will still be limited by your hosting plan disk space limit).
- Click Update Email Settings to update the quota (if you do not wish to update, click Go back).
Please note
- The quota calculation does not include your mailbox’s trash folder.
- You cannot exceed the quota that your hosting provider sets.
Restrictions
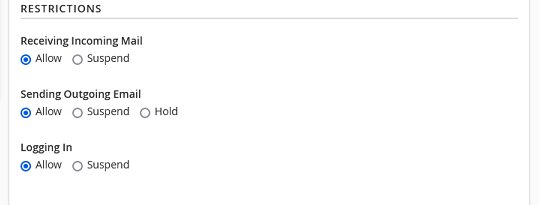
Here you can set the mailbox restrictions. These can be helpful if you have accounts that you only want to receive mail and not have the ability to send. This can also help if you have mailboxes for former employees and still want to receive emails sent to those mailboxes.
- Allow/Suspend Incoming Mail
- Allow/Suspend/Hold Sending Outgoing Email
- Allow/Suspend Logging In
Plus Addressing
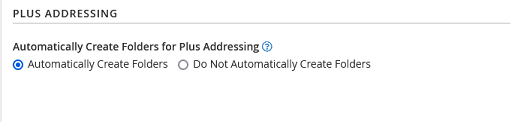
Plus Addressing is an advanced feature for email accounts that allows for automatic sorting of emails. Here you can select whether cPanel will automatically create Plus Addressing folders.
You can find more information regarding Plus Addressing by clicking on the circled question mark, or by checking out the cPanel blog post about it here. We also have a guide for it here.
Delete Mailbox
There are two ways to delete an email account:
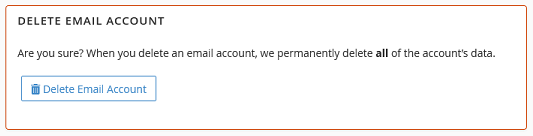
From the Manage page, all the way to the bottom of the page, you will see a Delete Email Account button. Click this button and then click the confirmation Delete button
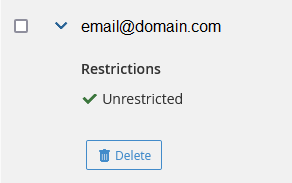
From the Email Accounts page, you can click on the arrow to the left of the email address. This will show more information, including the restrictions, as well as a Delete Button. Click this button and then click the confirmation Delete button
If you have any further questions, please be sure to reach out to our support staff by using our chat service in your client area or by submitting a ticket.